


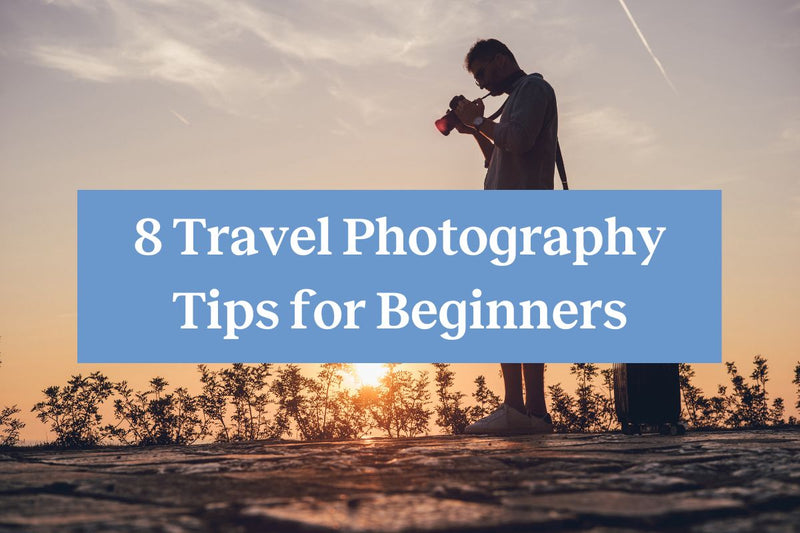
If you're a frequent traveler, one of the best and most important travel accessories is a good camera. And yes, "camera" can mean a top-notch cell phone if that's what you prefer — insane how good they've become!
In any case, more important than the camera itself is knowing how to use it. Not simply pointing and shooting, but travel photography tips for beginners, such as how to frame shots, how to use lighting to your advantage, and how to work with shutter speeds and exposure levels.
These factors make a world of difference in the quality of your photos. When we're talking about travel pictures specifically, most of the time you only have one "shot" at getting the shot, so you want to nail it! The last thing you want is to be standing at one of your bucket list destinations, fumbling with your camera.
That's exactly why we put together this list of travel photography tips for beginners. We want to help you take awesome photos that will provide long-lasting memories of your travels. Let's get into it!

1. Know Your Camera
One of the most important travel photography tips for beginners is to learn how your camera works before you use it. Going back to our earlier point, you don't waste time while you're actually on your trip messing with unfamiliar camera settings.
Even if you're using your cellphone, spend time exploring the different settings and shooting modes, getting comfortable with what everything does. Cameras (even the cell phone variety!) can be confusing at first; don’t make things harder on yourself by having to learn everything on the fly.
Understanding how to make the necessary minute adjustments for taking the photo you have in mind is important. Conditions are never truly perfect, so you'll need to make minor tweaks in almost all situations — learn those beforehand! Learning the exposure triangle will also go a long way in improving your travel photos.
2. Practice Before You Play
This travel photography tip piggy-backs off of learning your camera, but will improve your skills before you even start! We know you're excited to get out there and start capturing your travels, but one of the best things you can do is actually practice at home.
Take a bit of time and play tourist in your hometown. Just start taking pictures of literally anything and everything, trying to simulate what you want to do while traveling. If you can do it comfortably at home, you can do it on the road!

3. Plan Ahead
It’s a good idea to look for photos of the places that you'll be visiting. While you, of course, want to develop your own style, seeing what other photographers have taken in the same place can help give you ideas and inspiration for your pictures. This is something even seasoned professionals do!
You don’t have to copy the photos you find to a tee, but you might find some new perspectives or ideas that you didn’t think of before. Another benefit of researching photo ops ahead of time is saving time; especially if you've never been to a destination, it takes a great deal of time to scout those perfect shots!
4. Tell a Story
We all have stories from our travels (that's largely the point of traveling!) that we can verbally tell, but try to tell a story with your photos. Finding a way to communicate what's happening through a photo is a powerful thing, but can be difficult to master.
It starts with the way you actually think about the photo. What do you want to convey about that particular moment, place, or event? If someone was looking at the picture years later, what would you want them to take away from it?
Try to incorporate more than just the building or mountain. Look at the people, animals, and literally everything else surrounding it. Is it windy, with dandelions floating around or branches swaying in the wind? Every single aspect of your surroundings is part of the story, so try to capture that.
5. Don’t Stay Stationary
One of the easiest mistakes to make as a new photographer is snapping the “perfect” photo, then realizing later on that you were a little bit off-center, missed a better perspective, or you didn’t capture the entire scene.
Don’t be afraid to move around and take in the whole scene. Walk around, bend down (heck, lay down if necessary!), hop on taller objects, climb a tree, do whatever you have to, in order to get different perspectives on your subject.
Try to plan a few different shots to make the best of the scene, then move around constantly within those parameters.
Also, be sure you aren’t just looking at your subject. There may be a super cool rock, tree, or something else that adds a lot of character to your photo! And keep in mind that sometimes, the best photos are actually the candid ones where the subject isn't even necessarily the focal point.

6. Avoid Harsh Lighting
This can be difficult particularly while traveling, but the best time to take photos is generally when the natural light is soft. "Golden hour," or overcast days will provide easier, more photogenic conditions to work with, and it's not at all uncommon for photographers to base their entire itineraries on those timeframes.
If it's super sunny or a bit too dark, it's still worth giving it a shot, though. You never know what you may capture and if nothing else, it's a great opportunity to learn some editing tips!
7. Learn Post-processing
Post-processing is editing your photos after you take them. Essentially every great photo you see has been processed, and many veteran photographers say editing it just as or more important than the type of camera and gear you use.
There are plenty of paid and free options available to process your photos, including several mobile apps you can use on your phone!
Editing your photos doesn’t mean you are “faking” the photo by any means; it's just a tool (one of many!) to help enhance the photo you took. Although it takes some practice training your eye to get used to it, shooting in RAW provides the most flexibility when editing later on.
When you shoot in JPEG, your camera automatically processes the image with what it thinks are the best adjustments, so you have a lot less manual control.
8. Don’t Forget to Look Around
One of the most important travel photography tips for beginners may sound funny at first: put the camera down occasionally.
Traveling is such an incredible experience that can open your eyes up to parts of the world you never knew about. Make sure to take some time to appreciate that and don’t go home with your only experience of those moments being through a camera lens. If you make traveling all about taking photos to show the world what you experienced, you might just miss out on the best parts of those experiences.
Taking in the full experience and grabbing some photos when you can actually enhances your photography skills over time, helping you learn about perspective and being patient waiting for the right shot. It’s easy to get carried away with taking photos, but with all things in life, you just have to find that perfect balance.
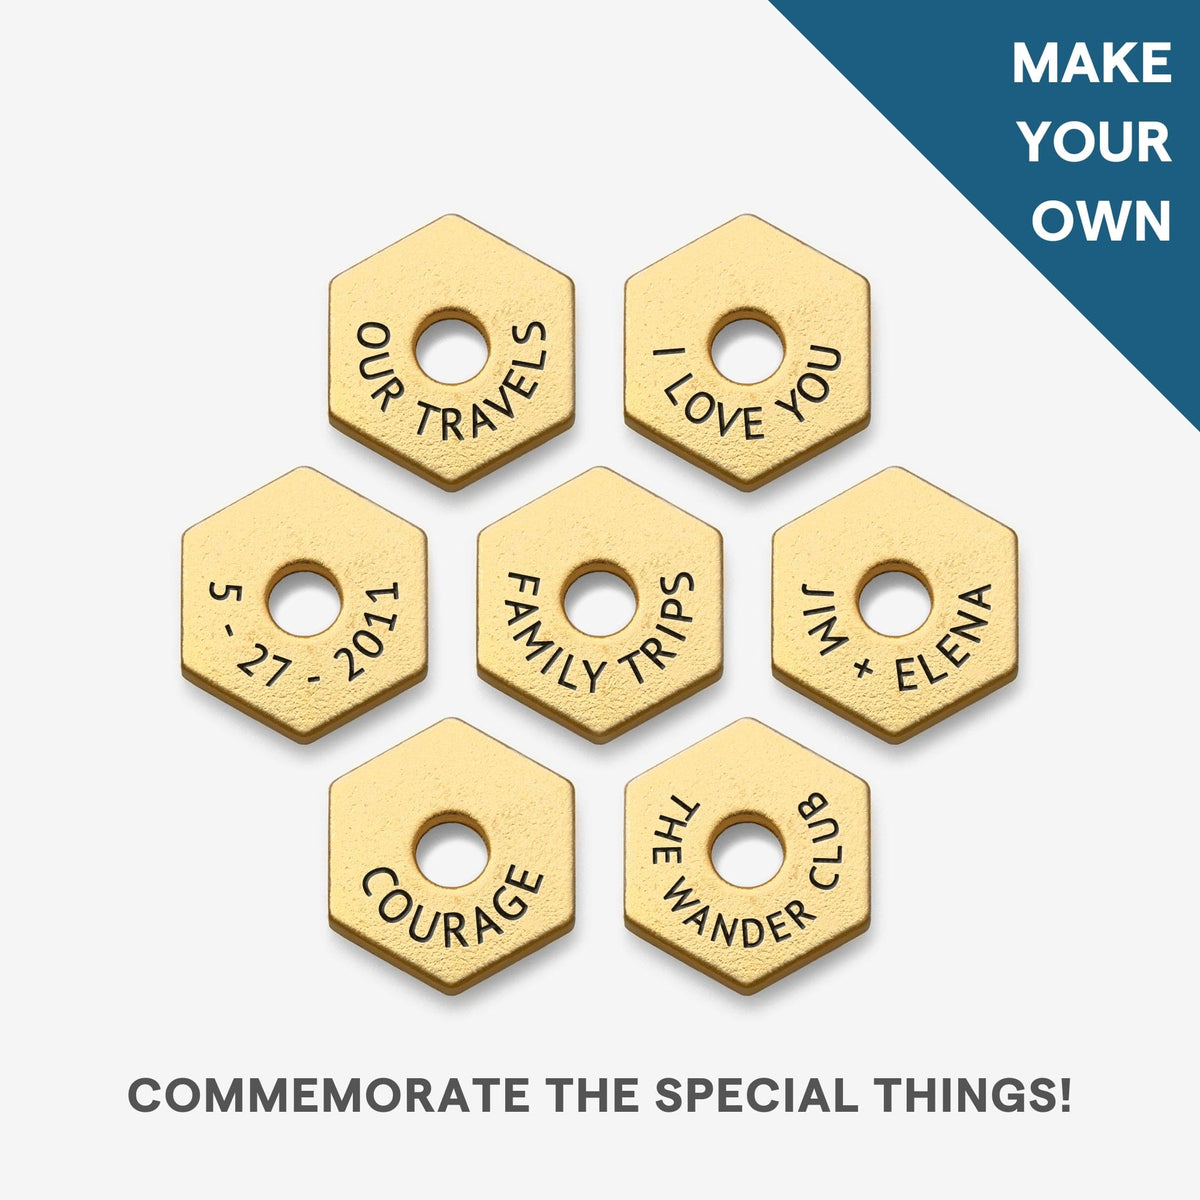
 As you learn and perfect some of these travel photography tips for beginners, consider documenting your progress in another way, beyond the photos themselves.
A Wanderchain from The Wander Club combined with some Shop Travel Tokens is a great way to do this! There are countless ways to customize them, but one idea might be to collect tokens from all the places you got those epic shots, whether they're countries, landmarks, or something else!
Have fun out there, stay safe, and good luck!